“WP Login Control” Premium WordPress Plugin Documentation for version 2.0.0
“WP Login Control”
Created: 01/25/2017
By: Francisco Javier Fortit
Email: support@wplogincontrol.com
Thank you for purchasing my plugin. If you have any questions that are beyond the scope of this help file, please feel free to email via my user page contact form here. Thanks so much!
For more information please refer to the license included with the plugin or Licensing Terms on the ThemeForest site.
Table of Contents
- Introduction
- Forms
- Menu
- Toolboxes
- Picture box
- Color
- Text and Font
- Box model
- Border
- Flip
- Visibility options
- CSS editor
- Flexible Box
- Tags
- Variables
- Trash
- Contextual menu
- Cron
- CSS Files ans Structure
- Sources and Credits
A) Introduction - top
WP Login Control easily customize your WordPress login page in minutes with no coding skills required.
Transform the default log-in page into a professional and unique page that blends nicely with your brand or identity.
Create as many forms as you want and activate them individually, randomly or with cron, you can preview and activate them in the backend.
WP Login Control not only gives style, goes one step further to be a WYSIWYG web Builder, you can create Shortcodes and add new HTML tags, write inside them and style them.
This plugin is Multilingual ready, available translations: English and Spanish.
B) Creating Forms - top
- Create
- Click on the "Create new Form" button and enter a name of your choice for the new form.
- Choose the form type between "Login - Default Page" and "Shortcode Object - Blank Page".
- Finally click the button "Create form".
- Types of forms
- Default login - This option lets you easily customize your WordPress login page and add new items.
- Shortcodes - This option allows you to easily create new objects such as buttons, banners, boxes, links, etc. and add them as a shortcode.
- Edit - Click this button to edit the form and change its style.
- Delete - Click this button to delete the form.
- Clone - Click this button to Clone or copy the form, a popup form will appear in which you will have to enter the new form's name.
- Preview - Move the cursor over this button and a box appears with the preview of the form.
- Activate - In the "status" column you can select from three options: active, inactive and crone.
By default "Inactive" is selected, the form ( login page or Shortcode ) is not shown.
If "Active" is selected the form is shown.
If "Cron" is selected, the form is displayed between the start date and the end date that is selected by the user.
If more than one form is active or activated by cron at the same time, it will be shown randomly.
A new line will appear in the forms table, if you put the mouse over, four icons will appear:
C) Menu - top
In the area of design we can find four main icons.
Tools - Click this button to open the toolboxes, click again to close, if there is a box that is child of this, it will also be closed.
Images - Click this button to open the picture box, Click again to close.
Save - Click this button to save changes.
Dashboard - Click this button to return to Dashboard, If the changes have not been saved, they are ignored.
D) Toolboxes - top
All the Toolboxes can be dragged and dropped anywhere on the screen, to facilitate the editing of any element.
You can expand or collapse the Toolboxes with the arrow icon.
To close the Toolboxes, click on the cross icon.
To minimize the Toolboxes, click on the underscore icon.
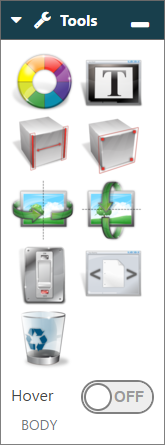
We will list all items from left to right and top to bottom.
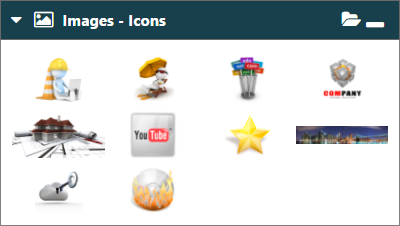
- Picture box - All images that we use will pass through this box, to upload or choose images we just have to click on the "folder" button to open the "Media Library" of WordPress.
Once you have selected the images you can use them with just drag and drop the image over the item you want.
You can re-select more images if necessary or delete them from the box, the images that you do not use will not be added to the final project, it is not necessary to delete them.
Remember that before using the different tools you have to select the objects or Tags to modify, by default Background is selected.
TRICK - Remember that you can use CTRL+CLICK to select or deselect more than one object.
- Color - Clicking on this button will bring up the toolbox named "Color".
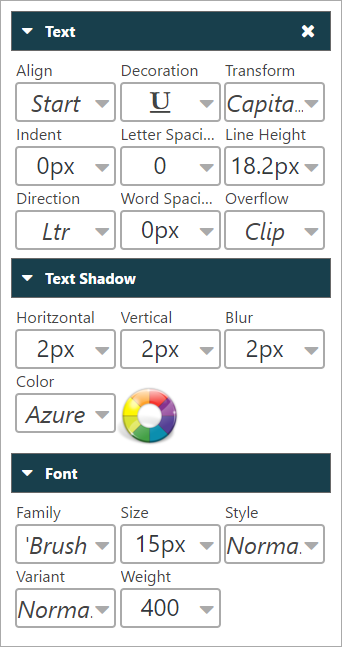
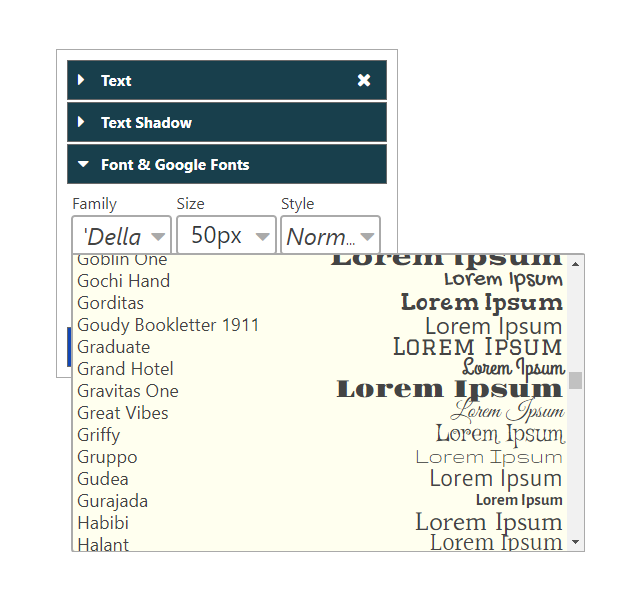
- Text and Font - Clicking on this button will bring up the toolbox named "Text and Font".
- Google Fonts - Gives you the ability to change the fonts of your text to any of the 800+ available Google Fonts. If you want to use a font, just pick it from the list.
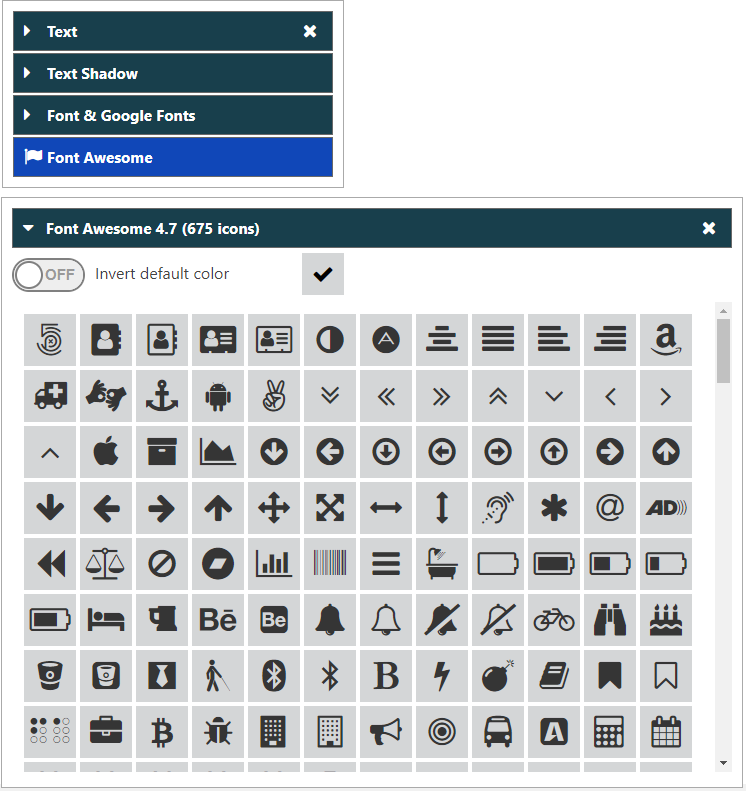
- Font Awesome 4.7 - You only have to Drag and Drop the icons and make infinite combinations of size, color, borders and any CSS property on the icons depending on your need using. You can add links with "A" tag.
- Box model - Clicking on this button will bring up the toolbox named "Box model".
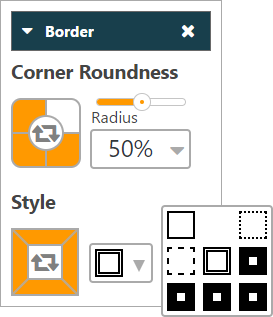
- Border - Clicking on this button will bring up the toolbox named "Border".
- Horizontal and Vertical Flip - Clicking on this buttons selected items will Flip.
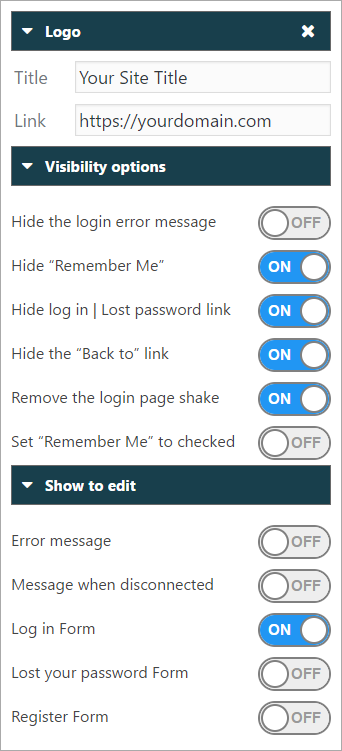
- Visibility options - Clicking on this button will bring up the toolbox named "Visibility options".
- CSS editor - Clicking on this button will bring up the window named "CSS editor".
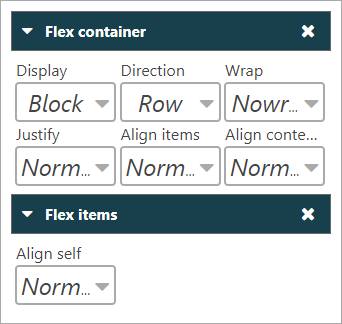
- Flexible Box - Clicking on this button will bring up the window named "Flex container & Flex items".
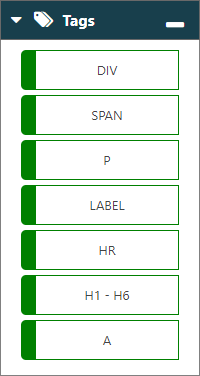
- Tags - Clicking on this button will bring up the window named "Tags". Simply drag and drop the HTML tags to the desired location to create the new object.
- Variables - Clicking on this button will bring up the window named "Code variables". Simply drag and drop the variable to the desired location and content will be replaced in the Front-end.
- Trash - Drag an item to the Trash, only new objects created by the user are allowed and it will be deleted (in this version only images).

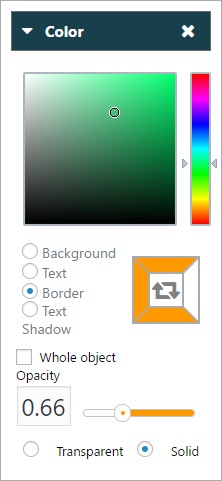
Sometimes if you select a color and it does not change, it is possible that the opacity is set to 0 or "transparent" option is selected.
TRICK - If you select "border" a box will appear with the four sides of the box. We can select them individually to assign different colors to each side. The center button reverses the selection.
Once you have selected the objects or tags to modify, you only have to expand the desired Combobox and just move the mouse over the different options we can check the result, finally we will click on the desired option.

The operation is equal to "Text and Font" except for "Box Model" that to use the slider first we have to select the numerical boxes that make reference to each side of "Margin, Border and Padding", where we want to apply the changes.

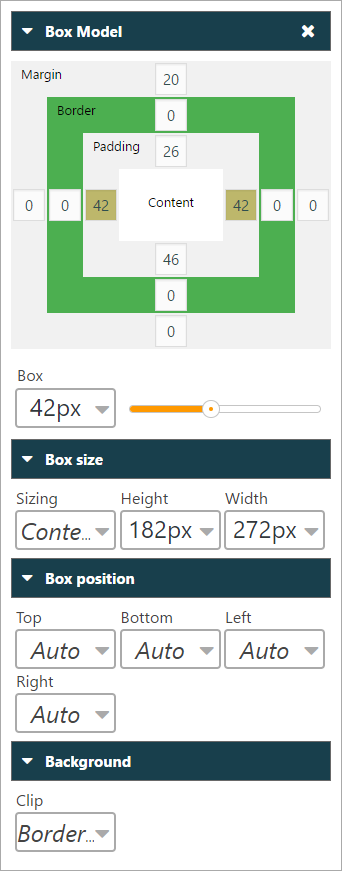
TRICK - We can select more than one numerical box at a time, either "Margin, Border or Padding" and even combine them.
TRICK - If we click on the square where the name of any of the "Margin, Border or Padding" properties is found, all the numerical boxes of that property are selected, deselected or inverted.
As in border colors, we can select the sides of the box to change the line style or the corners for rounding. The center button reverses the selection.

 Horizontal Flip
  Vertical Flip
Sliding the buttons to "ON" will activate the desired options.
The last three options allow us to edit the different types of forms available, "Login", "Lost you password" and "Register".

TRICK - Remember to save before leaving the designer.
We regularly add new CSS properties, but if you need any CSS property that is not available, you can write your CSS code here.
The editor does not correct the code errors.

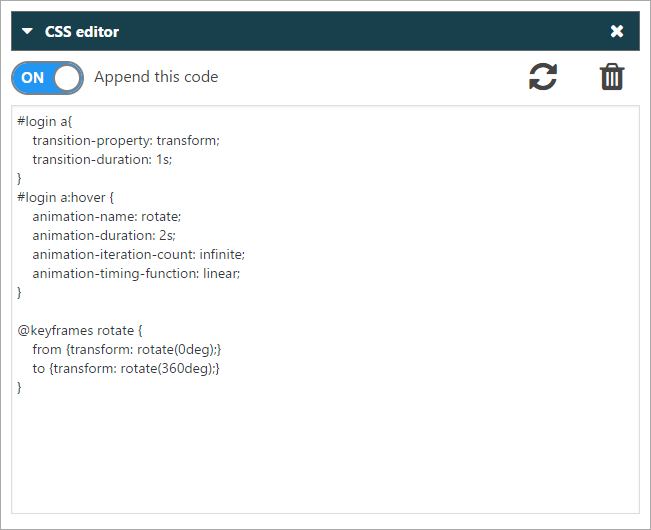
TRICK - Remember to put the toggle button to "ON".
To add or update the code click
TRICK - Remember to save before leaving the designer.
Flexible boxes (flexbox) ensures that elements behave predictably when the page layout must accommodate different screen sizes and different display devices.

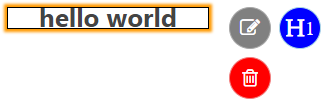
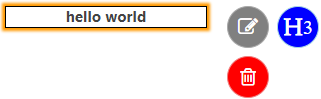
TRICK - If we right click the "H" button the number of the header will rise, if we click the left button the number will go down.

At the moment only one variable is available for Shortcodes.

Instead you can use Contextual Menu or the DELETE key.
E) Contextual menu - top
Right click on any object or Tag and a popup menu will appear with more options.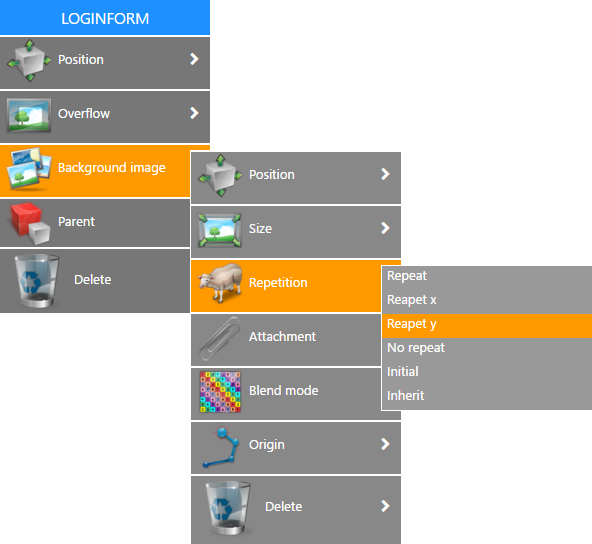
TRICK - Remember that you can drag the menu for convenience, the menu automatically appears in the position where it can be fully expanded.
F) Cron - top
With Cron we can program when to activate and deactivate the visibility of any form at a specific date and time.
Shortcodes can also use Cron, for example if we create two banners in two different Shortcodes, we can insert these Shortcodes one after another and will be displayed depending on the cron configuration.
Select "Cron" in the "state" column and press
Insert the start and end dates, activate the "ON" button and finally click on "save changes".
A countdown will appear indicating:
- Blue - indicates the remaining time for activation.
- Green - the form is active, indicates the time remaining for deactivation.
- Gray - the form has not been activated or is disabled automatically when the end date is reached.
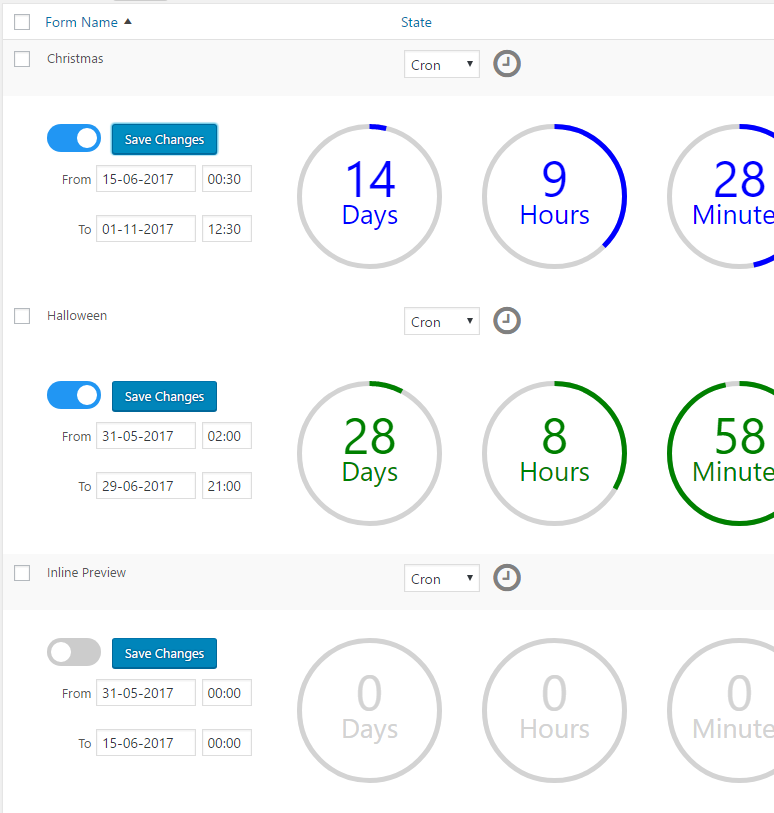
Remember to put the toggle button to "ON" before saving the changes.
G) CSS Files and Structure - top
When saving a form, two CSS files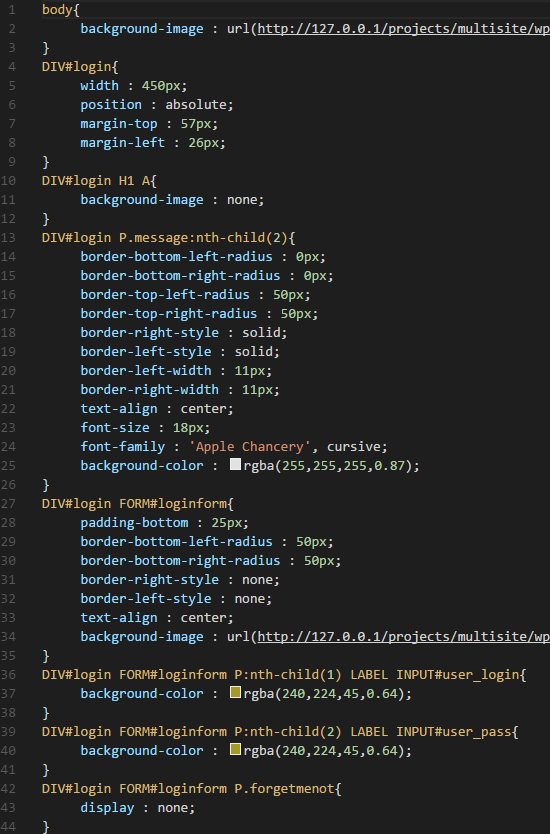
H) Sources and Credits - top
- jQuery JavaScript Library by John Resig
- Color picker by Stefan Petre
- jQuery timepicker by Jon Thornton
- Custom AJAX List Table by Charlie MERLAND
- A completely free developers resource by W3Schools
Premium Icons used:
- Iconshock by iconshock.com
Fonts used:
- Font Awesome created by Dave Gandy